Placing a Map Control on a UX Component
Description
Place a simple map control on a UX Component and set basic properties of the map object.
Map control placement is also covered in this video.
Place a Map on a UX
In the UX Builder open the UX Control page.
On the left side of the page scroll down through the Data Controls menu and click on the Map Control.

The New Control dialog will open. Give the map a name and click OK.
The Map control should now appear in the UX component. If you run the component in Live Preview you should see a simple Google Map.
You can modify a Map control using the Map Properties section of the Control properties list. The properties list appears on the right side of the UX Controls page whenever a control on the page is highlighted.
Adjusting the Size of a Map
Highlight the Map control that has been placed on the UX component. In the properties list find the Map width and Map height properties.

Change the Map width and Map height properties by typing in new dimensions

Run the modified map
 A map with modified width and height
Center Map on a specific location
In the Map Properties section of the Control Properties list Check the Center map on location property. The Center latitude and Center longitude properties will appear.

The Map Initial Position dialog will open. In the Address textbox type the address of the place where the map should be centered.

Click the Geocode Address button. This will fill in the longitude and latitude for the typed address automatically.

Click OK and view the map in either Live or Working Preview.
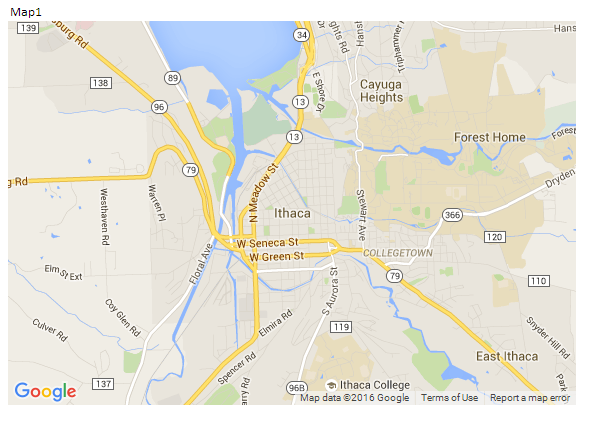
 A map centered on the given address
For more on modifying a map control, including adding overviews and walkaround features, visit the Map properties section of the documentation.